
By Janine Thomson, REALTOR® | Pemberton Holmes
Greater Victoria and Vancouver Island Real Estate
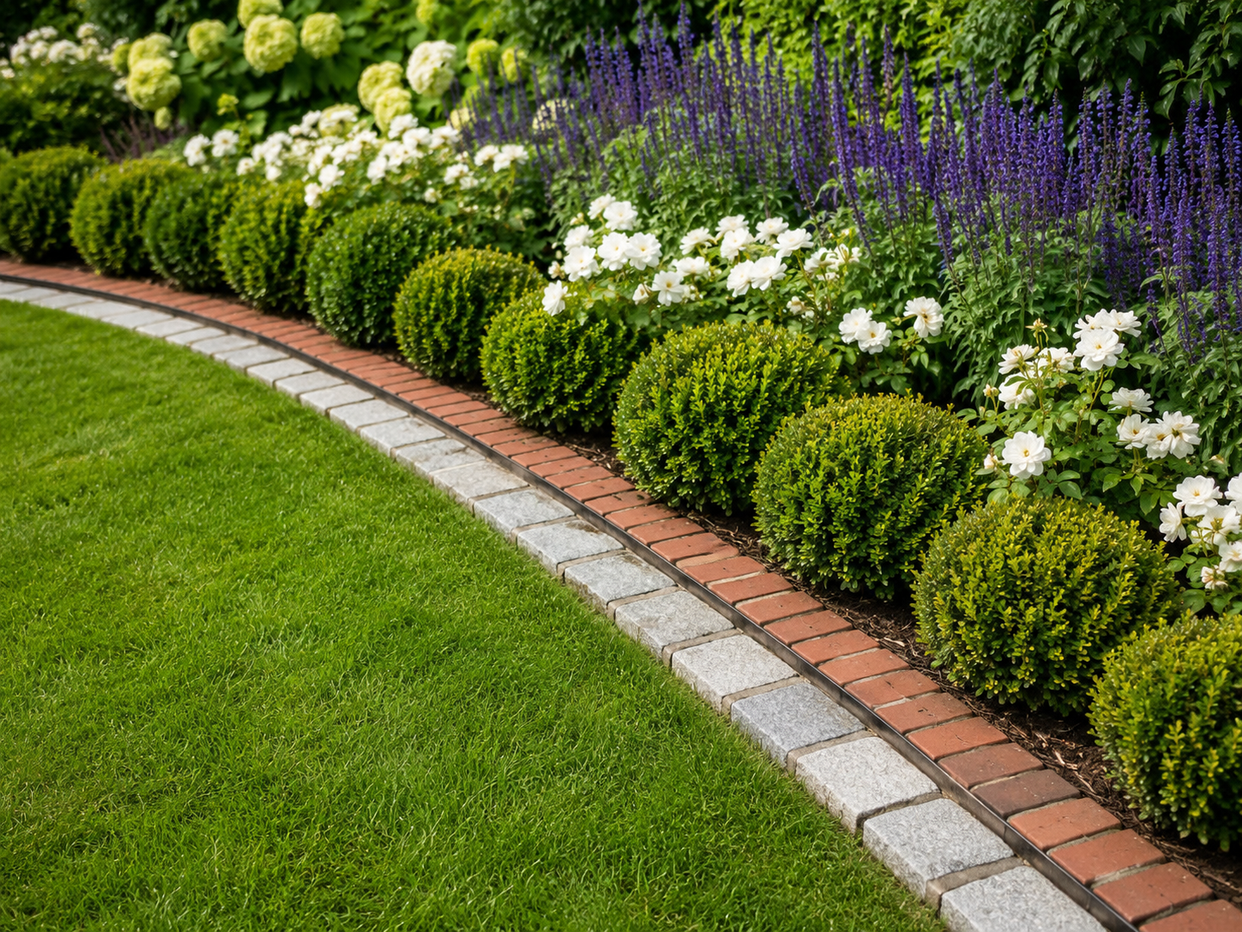
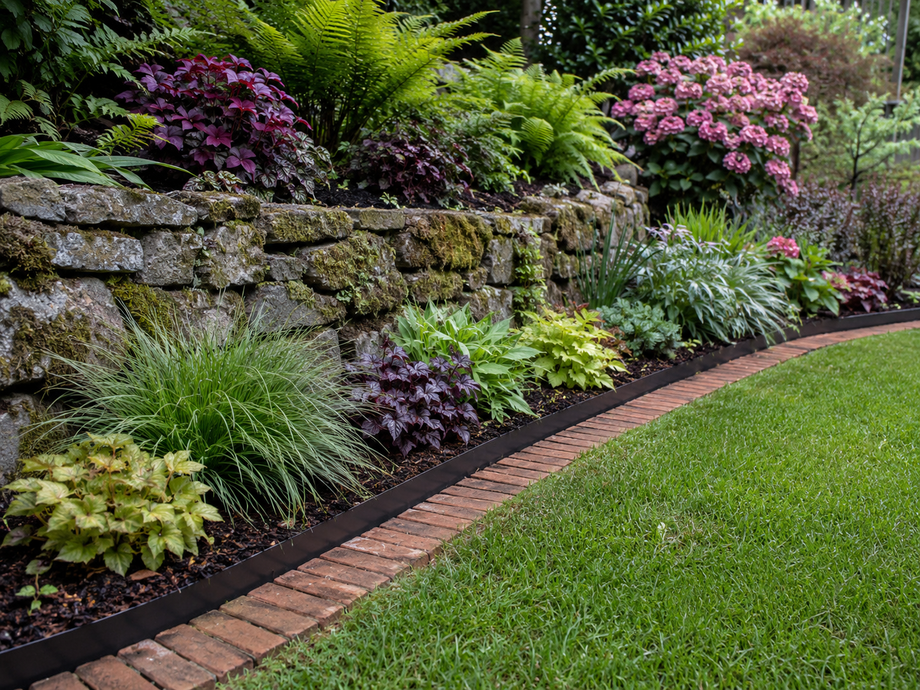
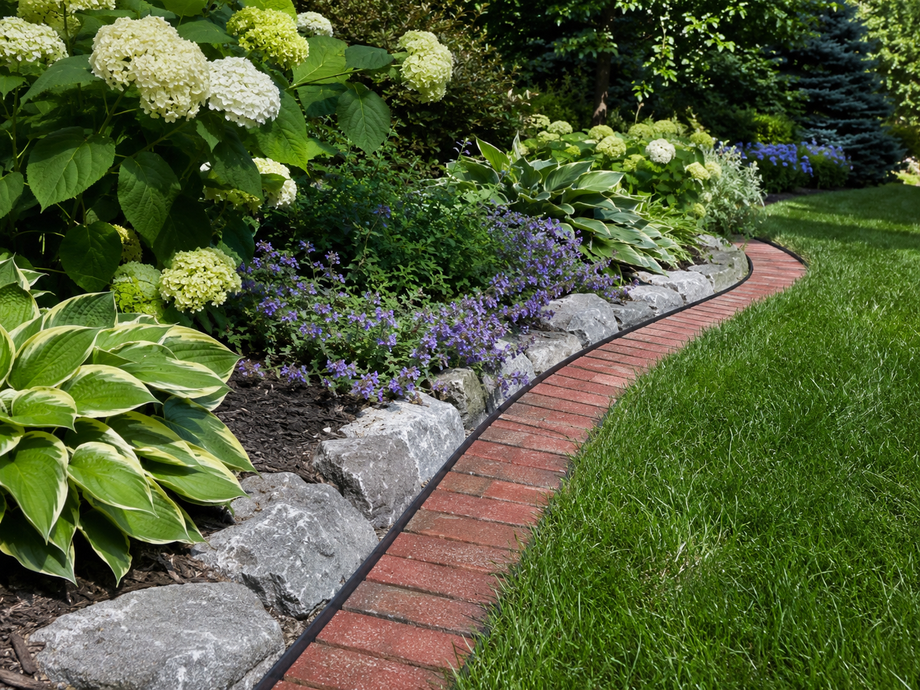
A well-defined garden edge can transform an ordinary yard into a polished, intentional landscape. Clean borders separate flower beds from lawns, reduce grass encroachment and create a finished frame around plants, pathways and outdoor living areas.
Garden edging does not have to be complicated or expensive. In many cases, the simplest approach is a freshly cut natural edge made directly in the soil. Other homeowners prefer stone, brick, metal or plastic edging for added structure and durability.
The right choice depends on the style of your home, the shape of your garden beds, your maintenance preferences and the overall feeling you want to create. A loose cottage garden may look best with a soft natural edge, while a contemporary home may benefit from crisp metal edging and strong geometric lines.
Below is a simple method for cutting clean garden borders, followed by a comparison of the most common edging materials and eight garden-border themes you can illustrate with individual photos.
A Simple Method for Cutting Clean Garden Bed Borders
A natural cut edge is one of the easiest and most attractive ways to define a flower bed. It does not require permanent materials, and it works with curved, informal and traditional garden designs.The basic idea is to cut a narrow vertical trench between the lawn and garden bed. The trench creates a visible break that prevents grass from blending into the soil or mulch.
What You Will Need
You can complete the job with a few basic tools:- A garden hose, rope or landscaping paint
- A half-moon edging tool or flat garden spade
- A small shovel or hand trowel
- A rake
- Mulch, compost or decorative soil
- Knee pads and work gloves
Step 1: Plan the Shape of the Garden Bed
Start by deciding where the new border will run.Lay a garden hose or rope on the lawn to test different shapes. A hose works especially well for curved beds because it can be adjusted until the line feels natural.Stand back and view the layout from several locations, including:
- The street
- The driveway
- The patio
- Inside the house
- The main entrance
For a formal landscape, use straighter lines, balanced shapes or repeated curves. For an informal garden, use softer contours that follow the natural planting area.
Step 2: Cut a Vertical Edge
Once the shape is established, press the edging tool or flat spade into the turf along the line.Cut down approximately 8 to 12 centimetres, depending on the soil and the type of grass. Keep the blade as vertical as possible.Work slowly along the entire border. Overlap each cut slightly so the line remains continuous and clean.A common mistake is angling the tool too far toward the garden bed. This creates a shallow slope that grass can easily grow across. A vertical cut forms a stronger and more visible boundary.
Step 3: Create a Small Interior Trench
Move to the garden side of the first cut and make a second angled cut approximately 8 to 12 centimetres inward.The two cuts should meet below the soil surface, forming a narrow V-shaped trench.
Remove the strip of grass and excess soil between the cuts. Shake loose soil from the turf before placing the grass in compost or using it to repair bare areas elsewhere in the lawn.The finished edge should have:
- A vertical lawn-facing wall
- A gently sloped garden side
- A narrow trench between the lawn and planting bed
Step 4: Clean and Level the Garden Side
Use a rake or hand trowel to smooth the soil inside the flower bed.Remove weeds, roots and loose pieces of turf. If the garden bed has become compacted, loosen the top layer of soil before adding compost or mulch.Keep soil and mulch slightly below the top of the lawn. When material is piled above the grass level, it can spill onto the lawn and soften the clean border.
Step 5: Add Mulch
Apply approximately 5 to 8 centimetres of mulch inside the garden bed.Suitable materials include:- Bark mulch
- Wood chips
- Composted bark
- Fine gravel
- Decorative stone
- Leaf mulch
Avoid filling the trench completely, as the visible gap helps preserve the definition between lawn and garden.
Step 6: Maintain the Edge
A natural garden edge requires occasional maintenance.Grass will gradually grow toward the trench, and rainfall may soften the soil. Recut the edge two or three times during the growing season, or whenever the line begins to lose its definition.A quick maintenance pass usually takes much less time than creating the original edge.Natural Edges Versus Installed Edging
Each edging method has advantages and disadvantages. The best option depends on the desired appearance, budget and level of maintenance.Natural Cut Edges
A natural edge is created entirely from soil and turf without installing a physical barrier.Advantages
Natural edging is affordable, flexible and visually subtle. It works especially well with curved beds and mature gardens where permanent materials might feel too rigid.It can also be reshaped easily as plants grow or the garden evolves.Disadvantages
The edge needs to be recut periodically. Grass roots can gradually cross the border, particularly in lawns with aggressive spreading grasses.Natural edges may also soften during heavy rain or when pets and children frequently walk through the garden.
Best For
Natural edging suits:- Cottage gardens
- Woodland gardens
- Curved flower beds
- Informal landscapes
- Budget-friendly garden improvements
Stone Edging
Stone edging creates a substantial, natural-looking border. Materials may include fieldstone, river rock, flagstone, granite or locally sourced rock.Advantages
Stone is durable and visually appealing. It works beautifully in West Coast landscapes, rustic gardens and properties surrounded by natural rock and forest.Larger stones can also help retain soil on gently sloped beds.
Disadvantages
Stone can be expensive and heavy to install. Irregular pieces may leave gaps where weeds and grass can grow.Small loose stones can move into the lawn and make mowing more difficult.
Best For
Stone edging suits:- West Coast gardens
- Rustic homes
- Woodland landscapes
- Rock gardens
- Sloped planting beds
Brick Edging
Brick provides a classic and structured border. It can be installed flat, upright, angled or in a repeating pattern.Advantages
Brick creates a traditional, timeless appearance and works particularly well with older homes, heritage properties and formal gardens.A flat row of bricks can create a convenient mowing strip, allowing the mower wheel to travel directly over the edge.
Disadvantages
Brick can shift over time if the base is not properly prepared. Weeds may grow between the joints, and frost movement can create uneven sections.The red or brown colour may not complement every home exterior.
Best For
Brick edging suits:- Heritage homes
- Traditional gardens
- English-inspired landscapes
- Formal flower beds
- Courtyard gardens
Metal Edging
Metal edging is commonly made from steel or aluminum. It is installed vertically, leaving only a narrow line visible above the soil.Advantages
Metal produces an exceptionally clean, modern edge. It works well with straight lines, curves and contemporary landscape designs.It is durable, low-profile and less visually dominant than stone or brick.Disadvantages
Metal edging can be more expensive than plastic. Poorly installed pieces may lift or create sharp exposed edges.Steel can develop a weathered or rusted appearance, which may be intentional or unwanted depending on the design.Best For
Metal edging suits:- Modern homes
- Minimalist gardens
- Geometric planting beds
- Gravel pathways
- Contemporary landscapes
Plastic Edging
Plastic edging is flexible, lightweight and widely available. It is commonly sold in rolls or interlocking sections.Advantages
Plastic is generally affordable and easy to transport. It follows curves well and can create a physical barrier between lawn and soil.It is a practical choice for homeowners completing a do-it-yourself project.
Disadvantages
Plastic edging can become visible if it rises out of the soil. It may warp, crack or fade over time, particularly after exposure to sun, frost and lawn equipment.Lower-quality products can make a garden look less polished.1. The Classic Natural Cut Edge
Best For
Plastic edging suits:- Budget-conscious projects
- Curved garden beds
- Temporary landscapes
- Rental properties
- Areas where the edging will remain mostly hidden
Eight Garden Border Themes
The following eight themes provide distinct visual approaches for your blog. Each section can be paired with a photograph showing the edging material, plant selection and overall garden style.1. The Classic Natural Cut Edge
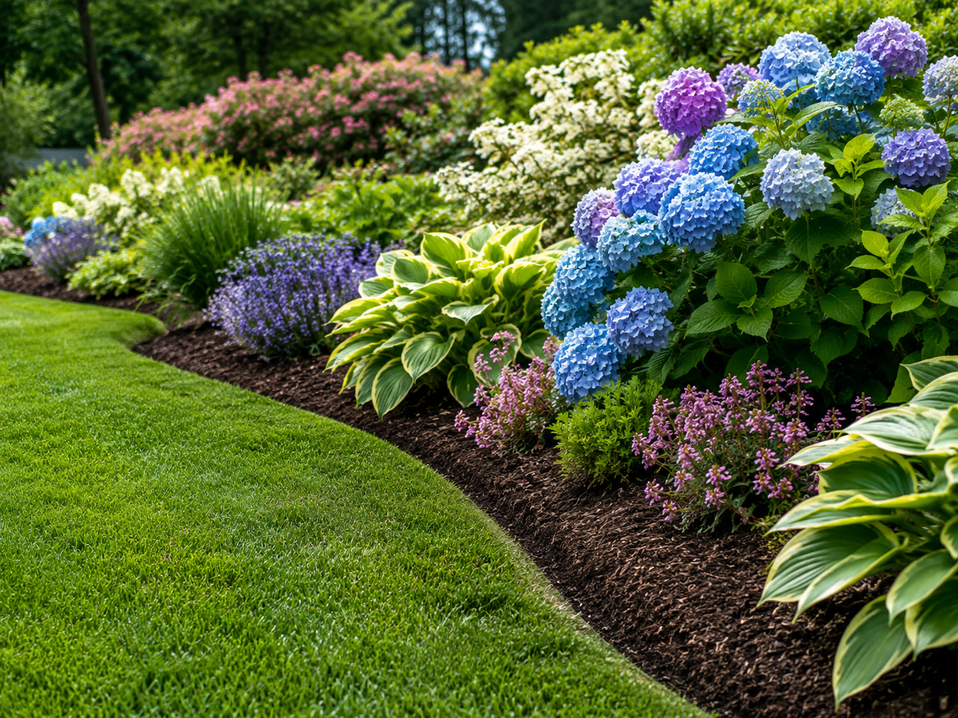
The classic natural border uses a freshly cut trench between the lawn and flower bed. There are no visible stones, bricks or manufactured materials.
This style allows the plants to remain the focus. The dark soil or mulch creates a strong contrast against green grass, giving the bed a clean outline without making the border itself overly noticeable.
Broad curves work particularly well. Plantings may include hydrangeas, hostas, ornamental grasses, roses, lavender or flowering perennials.
This is one of the best edging styles for homeowners who want an elegant result without purchasing additional materials.
Suggested image: A sweeping flower bed with a deep natural cut edge, fresh dark mulch and a neatly maintained green lawn.
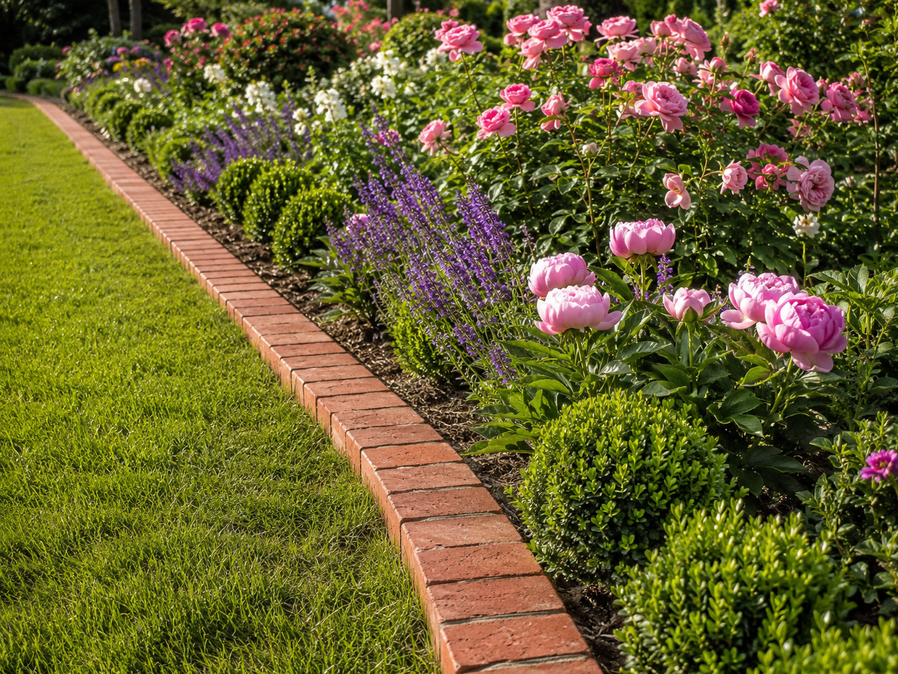 Brick edging creates a warm and established appearance. It is particularly effective around rose beds, herb gardens and formal perennial borders.
2. The West Coast Stone Border
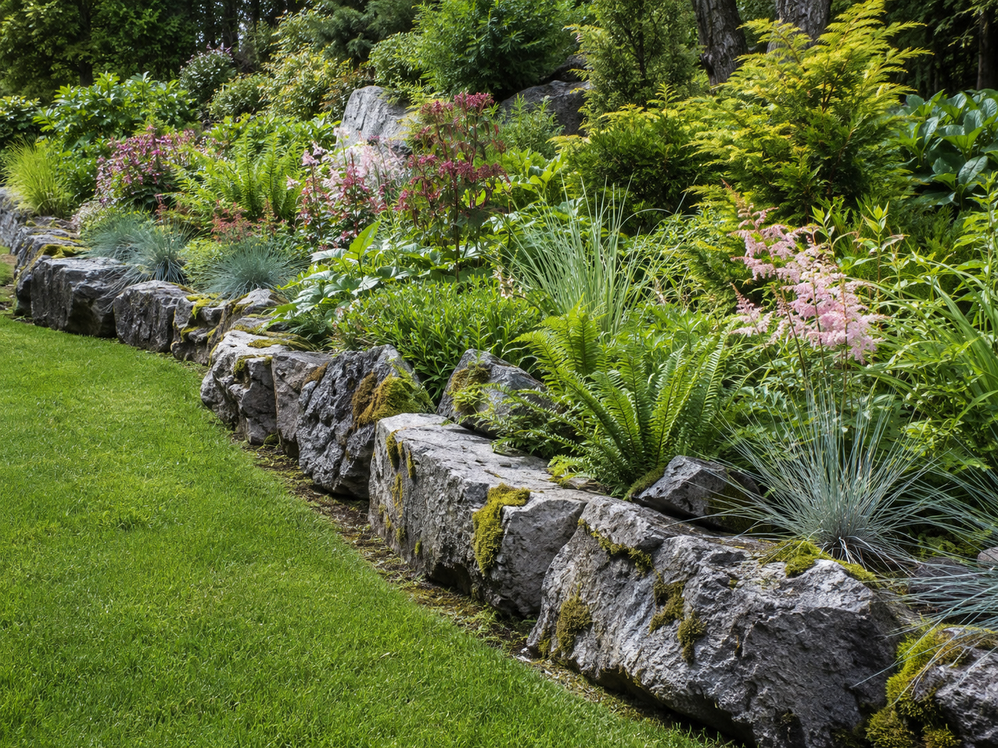
A West Coast garden border uses natural rock to connect the landscape with Vancouver Island’s coastal and forested surroundings.
Choose stones with varied shapes and muted tones such as grey, charcoal, moss green and soft brown. Larger rocks can be partially buried so they appear naturally settled into the ground.
Pair the border with ferns, salal, rhododendrons, evergreen shrubs, ornamental grasses and native plants.
Avoid placing every stone at exactly the same height. Slight variation creates a more natural appearance.
Suggested image: A curved garden bed edged with irregular grey stones, surrounded by ferns, evergreen shrubs and woodland plants.
3. The Traditional Brick Garden Edge
Bricks can be installed flat for a simple mowing strip or placed upright for a stronger decorative edge. A herringbone or angled pattern adds visual character.
The colour of the brick should complement the home. Red brick works well with heritage architecture, while weathered brown or charcoal brick may better suit neutral exteriors.
Pair the edging with boxwood, roses, peonies, lavender, catmint or neatly clipped shrubs.
Suggested image: A formal flower bed with red or weathered brick edging, roses and symmetrical planting.
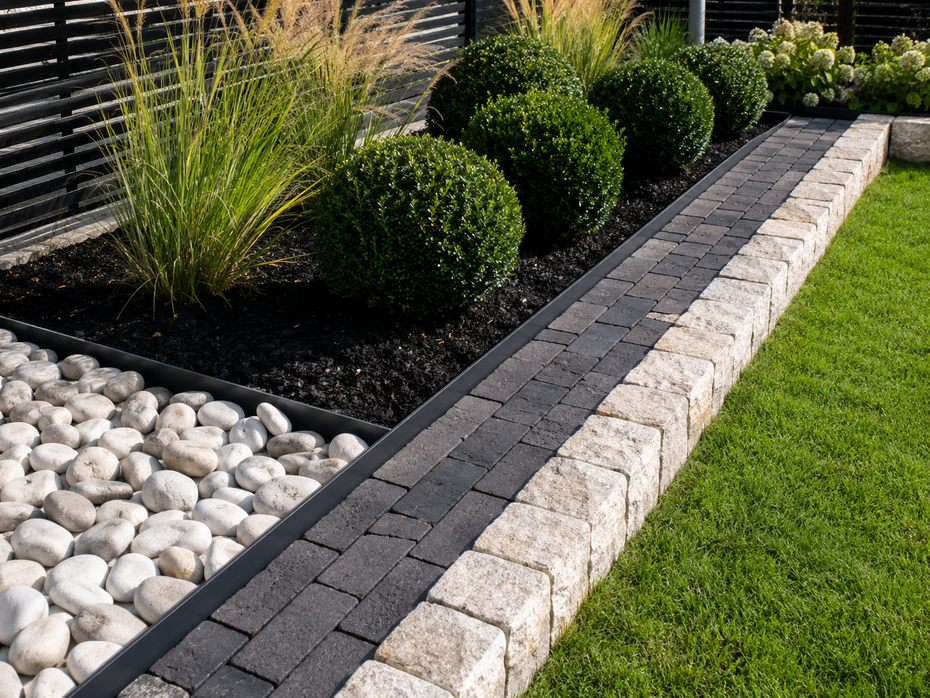
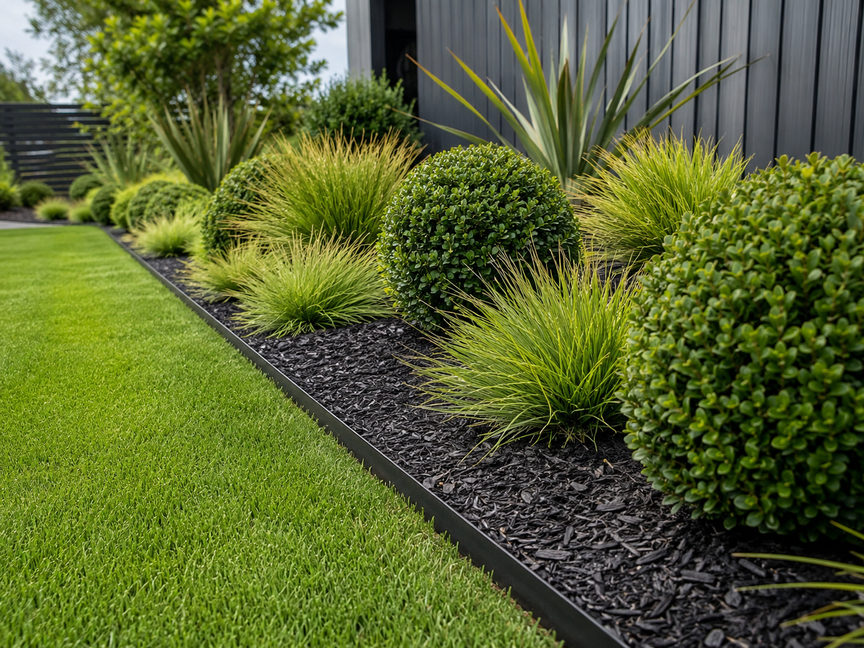 Thin metal edging is ideal for a modern garden. It creates a precise border without adding visual bulk.
4. The Contemporary Metal Edge
Use it to define straight rectangular beds, circular tree surrounds or smooth geometric curves. Dark steel or black aluminum blends into soil and mulch, while weathered steel can introduce a warm rust-coloured accent.
Pair metal edging with ornamental grasses, clipped evergreens, white flowers, gravel and architectural plants.
The simplicity of the material allows plant shapes and textures to stand out.
Suggested image: A contemporary garden with black metal edging, white gravel, ornamental grasses and structured evergreen plants.
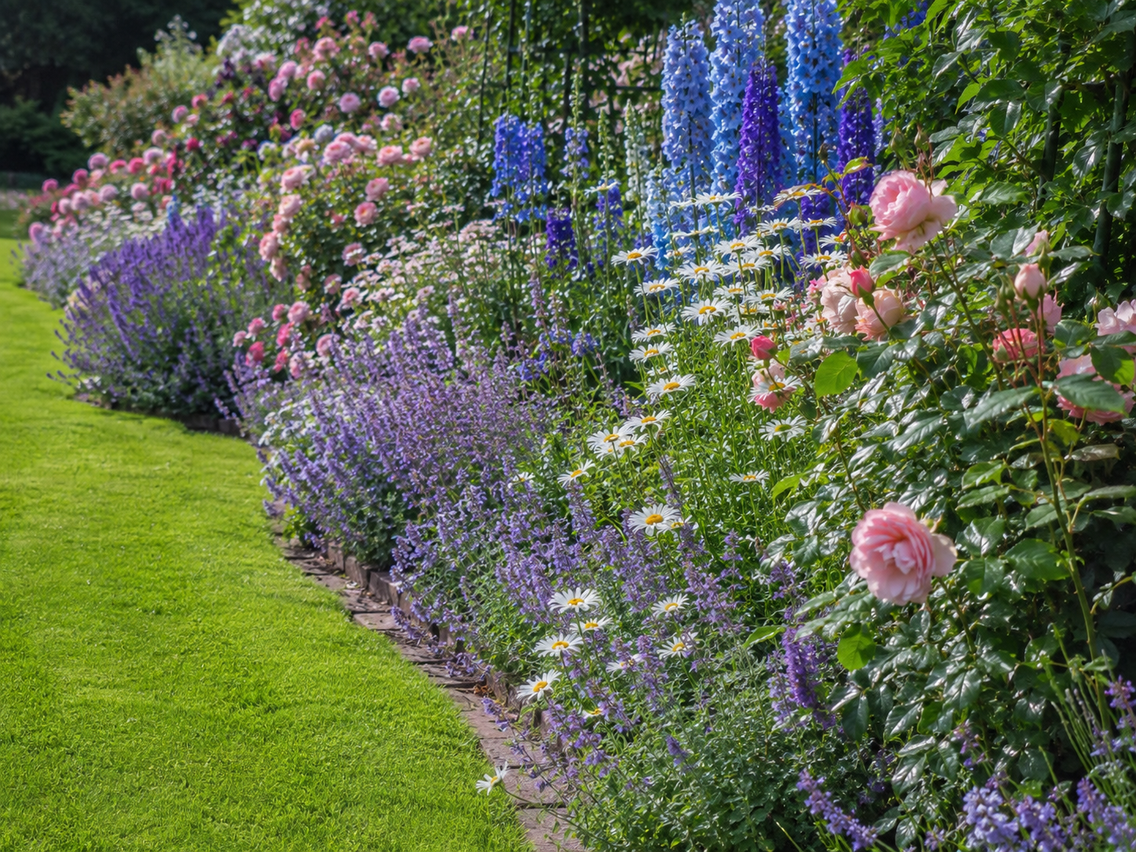
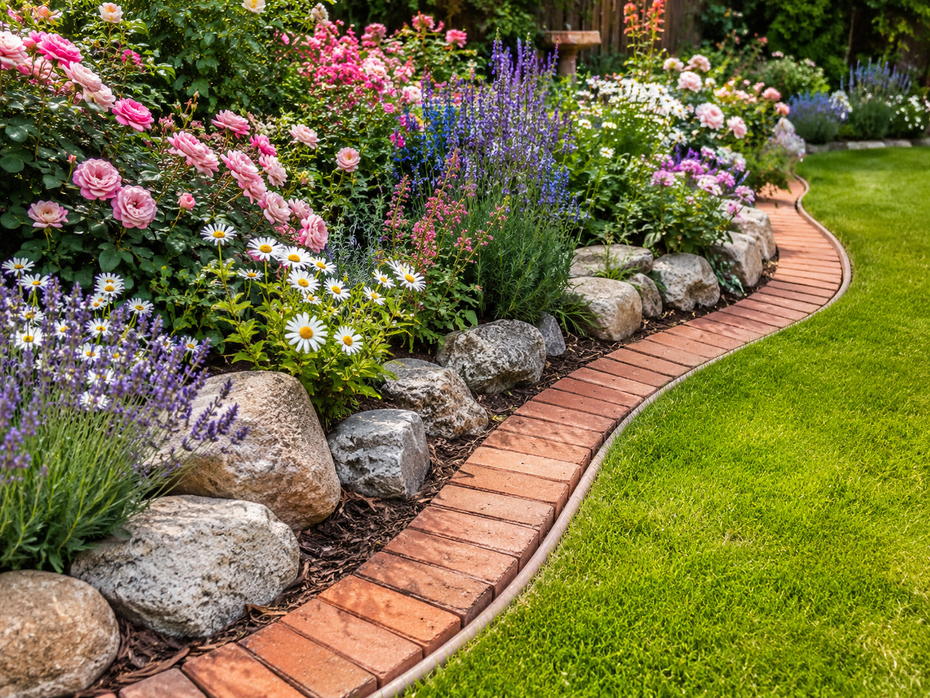
A cottage garden edge should feel tidy but not overly formal. A natural trench, low brick edge or partially buried stone border works well.
5. The Soft Cottage Garden Border
Allow some plants to soften the line by spilling gently over the border. Suitable plants include lavender, alyssum, catmint, geraniums, daisies and creeping thyme.
The key is controlled abundance. The bed should appear full and relaxed while the underlying edge prevents the garden from looking neglected.
Curved borders are particularly effective because they complement the loose planting style.
Suggested image: A colourful cottage border with lavender, daisies and soft flowering plants spilling over a subtle natural or brick edge.
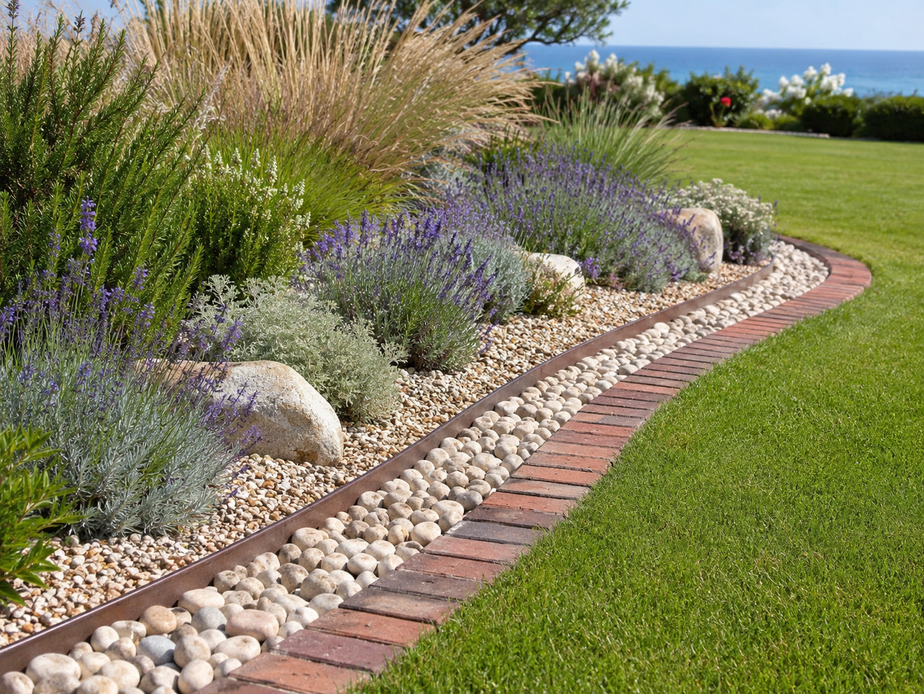
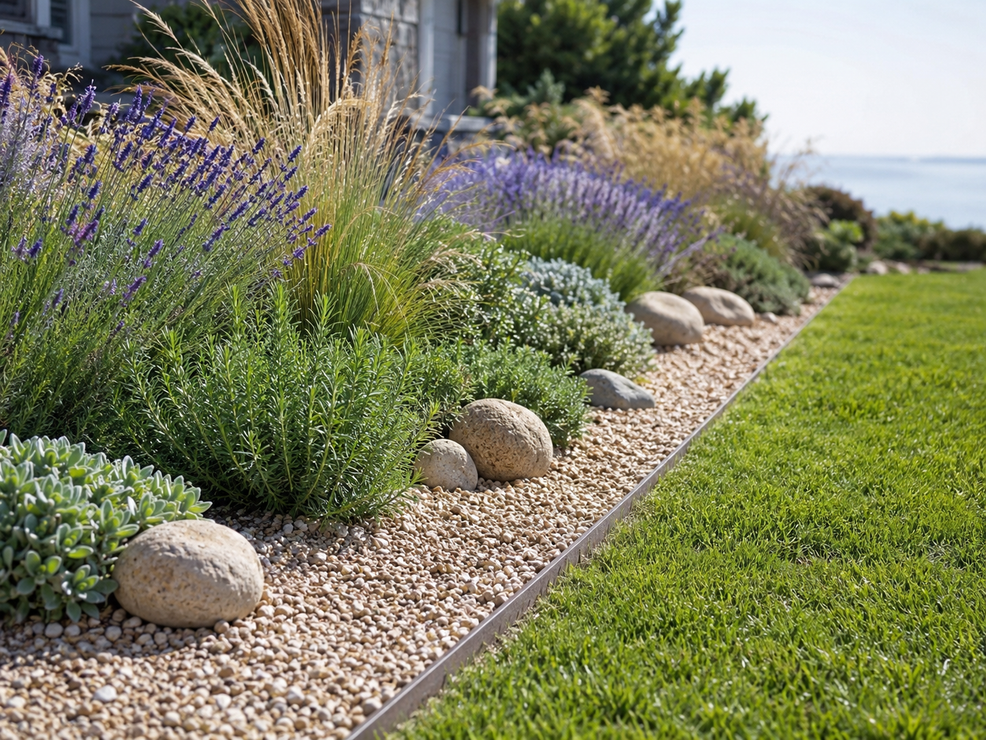 A coastal garden border combines stone, gravel and drought-tolerant plants. It is a practical choice for sunny locations and properties with a relaxed seaside character.
6. The Coastal Gravel Border
Use metal, stone or brick to contain pale gravel and keep it from spreading into the lawn. Select plants that tolerate heat and lower water conditions, such as lavender, sedum, blue fescue, rosemary and ornamental grasses.
Driftwood, rounded beach stone or shells can be used sparingly as decorative accents.
The result should feel light, textured and connected to the coast.
Suggested image: A coastal garden bed with pale gravel, grasses, lavender, rounded stones and a clean metal or stone edge.
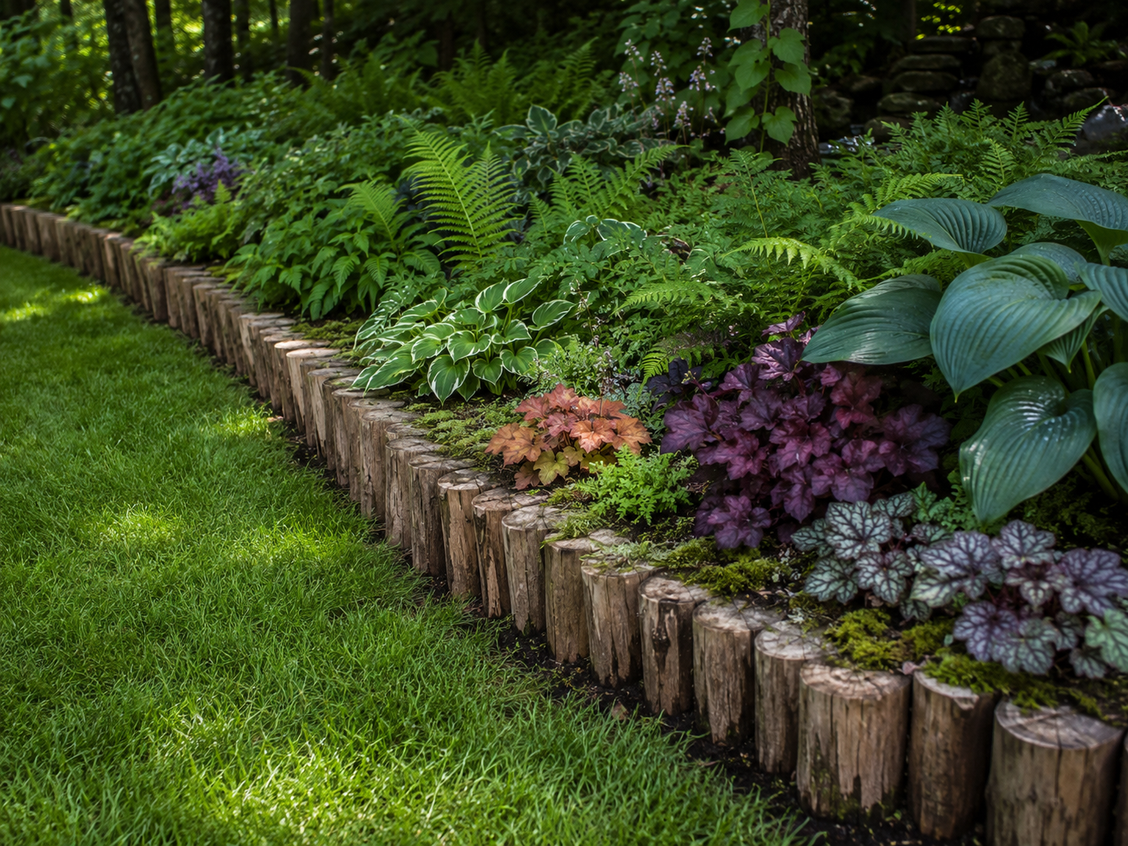 Timber borders create a rustic transition between planted beds and forested surroundings.
7. The Woodland Log or Timber Border
Use pressure-treated landscape timbers, cedar boards or natural logs. Cedar is particularly attractive because its warm colour complements evergreen foliage and weathered wood.
This edging style works well around shaded beds containing ferns, hostas, heuchera, mosses and woodland groundcovers.
Timber can also provide light soil retention on sloped areas.
Keep the installation simple and avoid overly high walls unless the bed requires structural support.
Suggested image: A shaded woodland bed edged with cedar or natural logs, planted with ferns, hostas and moss-covered accents.
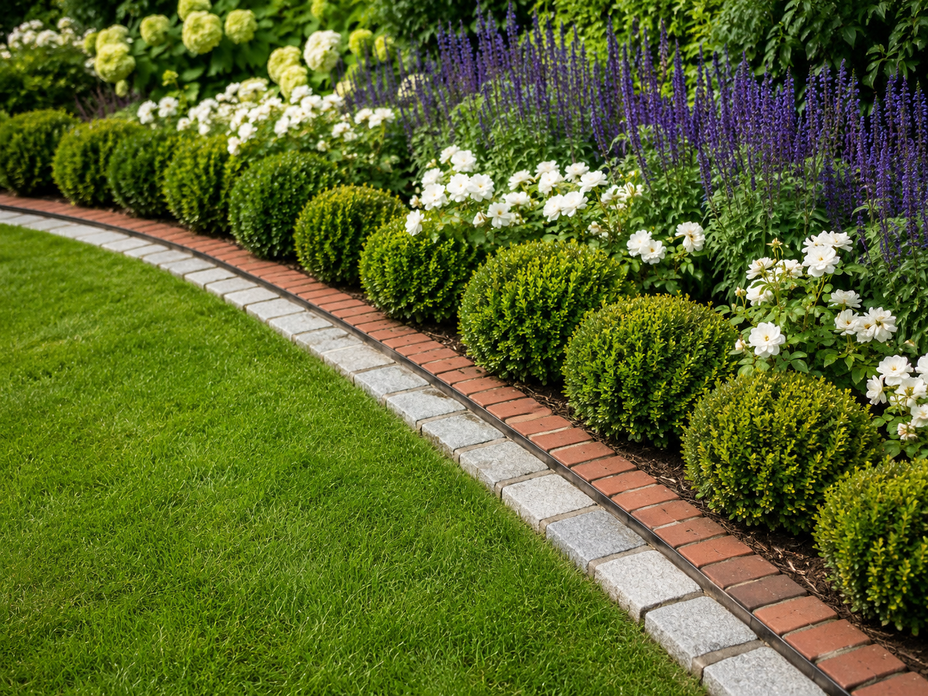
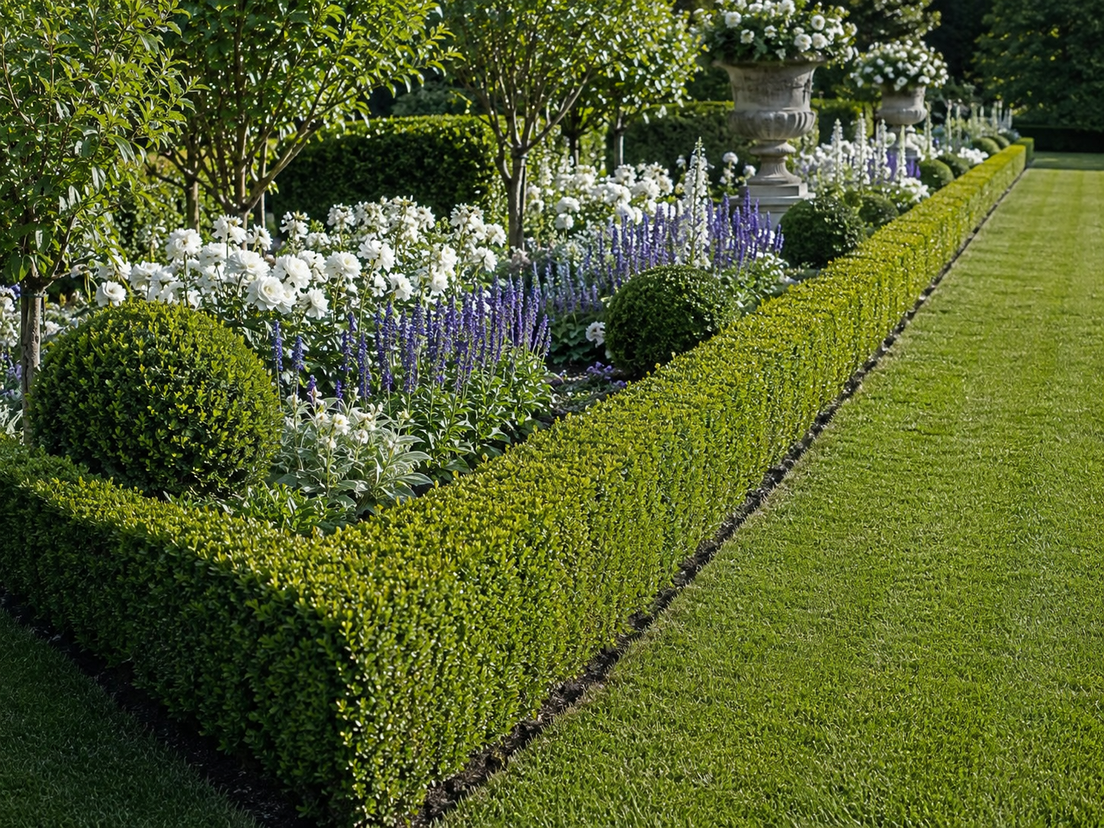 A living border uses plants rather than hard materials to define the edge. Low boxwood, dwarf lavender, compact euonymus or other small shrubs can form a continuous frame around the garden.
8. The Formal Low-Hedge Border
This style creates a refined and established appearance. It is especially attractive around entry gardens, courtyards and symmetrical planting beds.
A natural trench or hidden metal edge can still be installed behind the hedge to prevent grass from spreading into the bed.
Living borders require trimming and consistent care, but they create depth and year-round structure.
Suggested image: A formal garden bed framed by a low clipped hedge, with balanced shrubs and seasonal flowers inside.
How to Choose the Right Garden Edge
Begin by looking at the architecture of the home and the surrounding landscape.A traditional brick house may suit brick edging, clipped hedges or formal stonework. A contemporary home may look best with metal edging and simplified planting. A rural or forested property may feel more natural with fieldstone, timber or a clean soil-cut border.Also consider maintenance.
Choose a natural cut edge when you do not mind recutting the line during the growing season. Choose stone or brick when you want the edging to become a visible design feature. Select metal when you want a permanent but understated border. Use plastic when affordability and flexibility are the main priorities.
The garden bed itself should also influence the decision. Deeply curved beds are easier to create with natural, metal or flexible plastic edging. Straight formal beds work well with brick, stone or steel.
Final Tips for a Professional Finish
Keep the border line simple. One broad curve usually looks better than several small waves.Bury edging deeply enough that it remains stable and does not interfere with mowing.
Keep soil and mulch slightly below the lawn surface.
Use a string line for straight borders and a garden hose for curves.Repeat the same edging material throughout connected areas of the yard to create consistency.
Most importantly, choose a border that complements the garden rather than competing with it. The best garden edging creates order, supports maintenance and gives plants a beautiful frame.
A clean edge may seem like a small detail, but it can make the entire yard appear more intentional, cared for and complete.
Creative Border Styles using Brick, Stone and Gravel.